Getting Started with emacs in 30 Minutes

Emacs is a very extensible text editor that was started as far as 1970s. I have never really explored this editor much but somehow recently become interested to get to know this tool a bit more. This post will share a very quick journey of how setting up emacs and getting started to do some basic tasks approximately in 30 minutes.
In this post, we are going to cover these points:
- Checking emacs version
- Installation
- Starting emacs
- Exiting emacs
- Emacs Tutorial
- Emacs Packages
- Evaluating LISP
Checking Version
Emacs is included in macOS by default, but not from the latest version. In my laptop this is the version.
$ emacs --version
GNU Emacs 22.1.1
Copyright (C) 2007 Free Software Foundation, Inc.
GNU Emacs comes with ABSOLUTELY NO WARRANTY.
You may redistribute copies of Emacs
under the terms of the GNU General Public License.
For more information about these matters, see the file named COPYING.
At the time of this writing from this link the current version of emacs is 26.1. We will get that latest version, instead of the old default version.
Installing Emacs
There are several options to install the latest version of emacs. My preference usually is to use brew, so that it is easier to manage the instalation, uninstalation and update.
Run this brew command to install the gui version of emacs.
$ brew cask install emacs
After the installation we can check quickly the updated version. Make sure to switch the terminal to ensure the PATH will pick the latest installed emacs instead of the old one.
$ emacs --version
GNU Emacs 26.1
Copyright (C) 2018 Free Software Foundation, Inc.
GNU Emacs comes with ABSOLUTELY NO WARRANTY.
You may redistribute copies of GNU Emacs
under the terms of the GNU General Public License.
For more information about these matters, see the file named COPYING.
We have seen the installation run successfully.
Starting Emacs
Since we install emacs using brew cask, brew will add emacs to application folder, therefore the apps can be started from macOS launchpad. However, if you plan to use come emacs internal command, we might want to start it from command line because somehow starting emacs from the launchpad doesn't carry the PATH and environment variable setup in your bash_profile or your terminal profile. I am figuring out how to fix this issue. But for now, I just start emacs from terminal.
Exiting Emacs
Many people getting stuck from exiting vim. I believe there will be less number of people that can't exit emacs since at least there are no different editing and view mode in emacs such as in vim. In emacs GUI, just click the close window button. Or the more canonical way using keyboard binding is to use C-x C-c. See next section to understand what that key binding means.
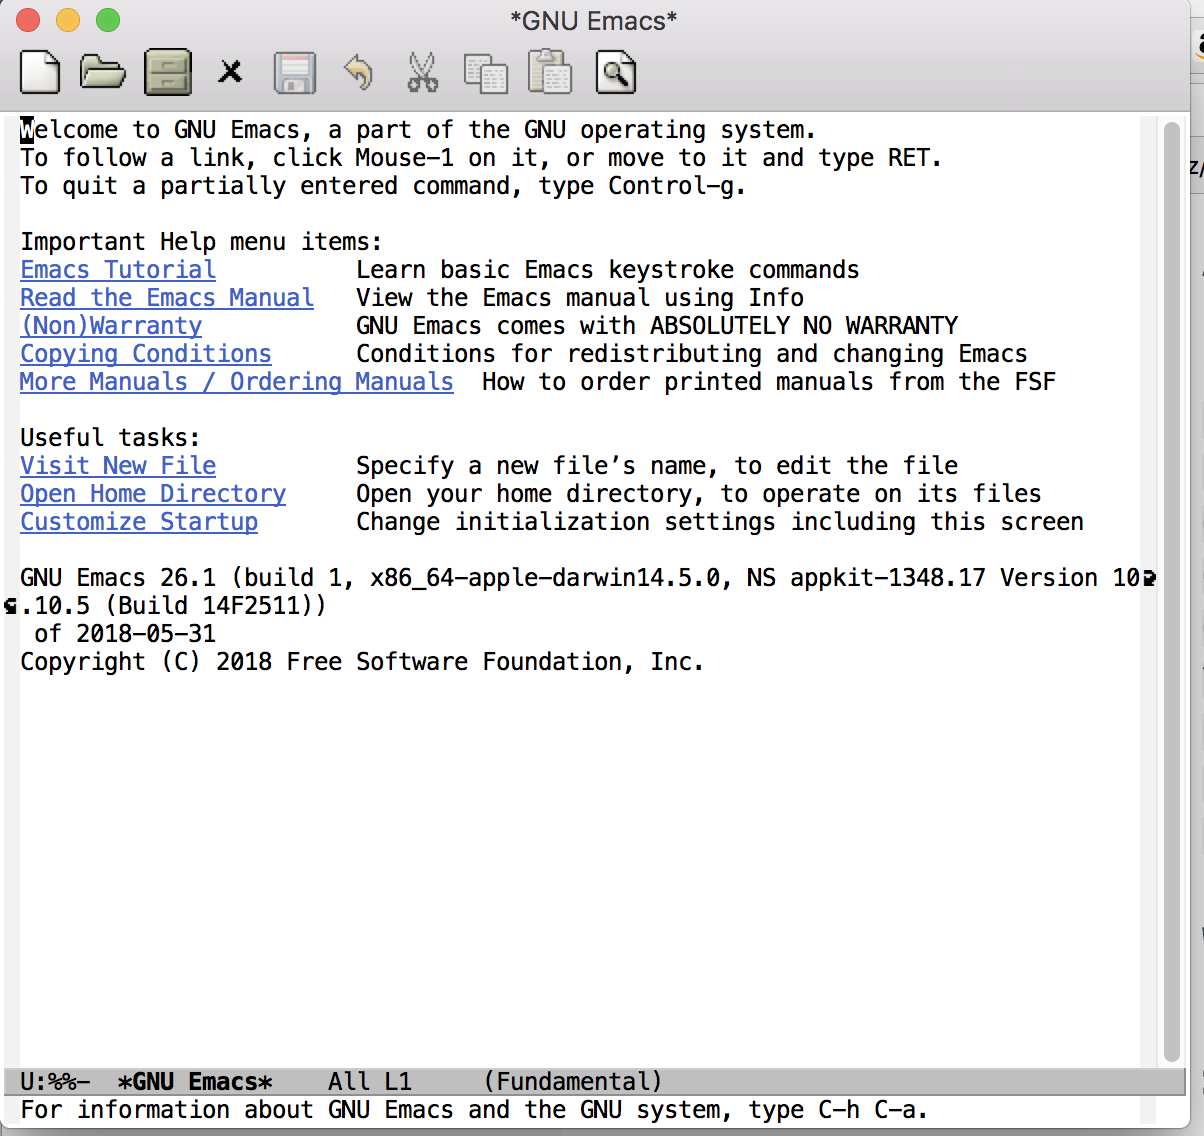
Emacs Tutorial
No I will not redo excellent tutorial that available inside the application. For you that really never used emacs before, spend your next 30 minutes to do the emacs tutorial that accessible from emacs welcome screen above. Alternatively you can press this key combination to access that C-h t.
Emacs Packages
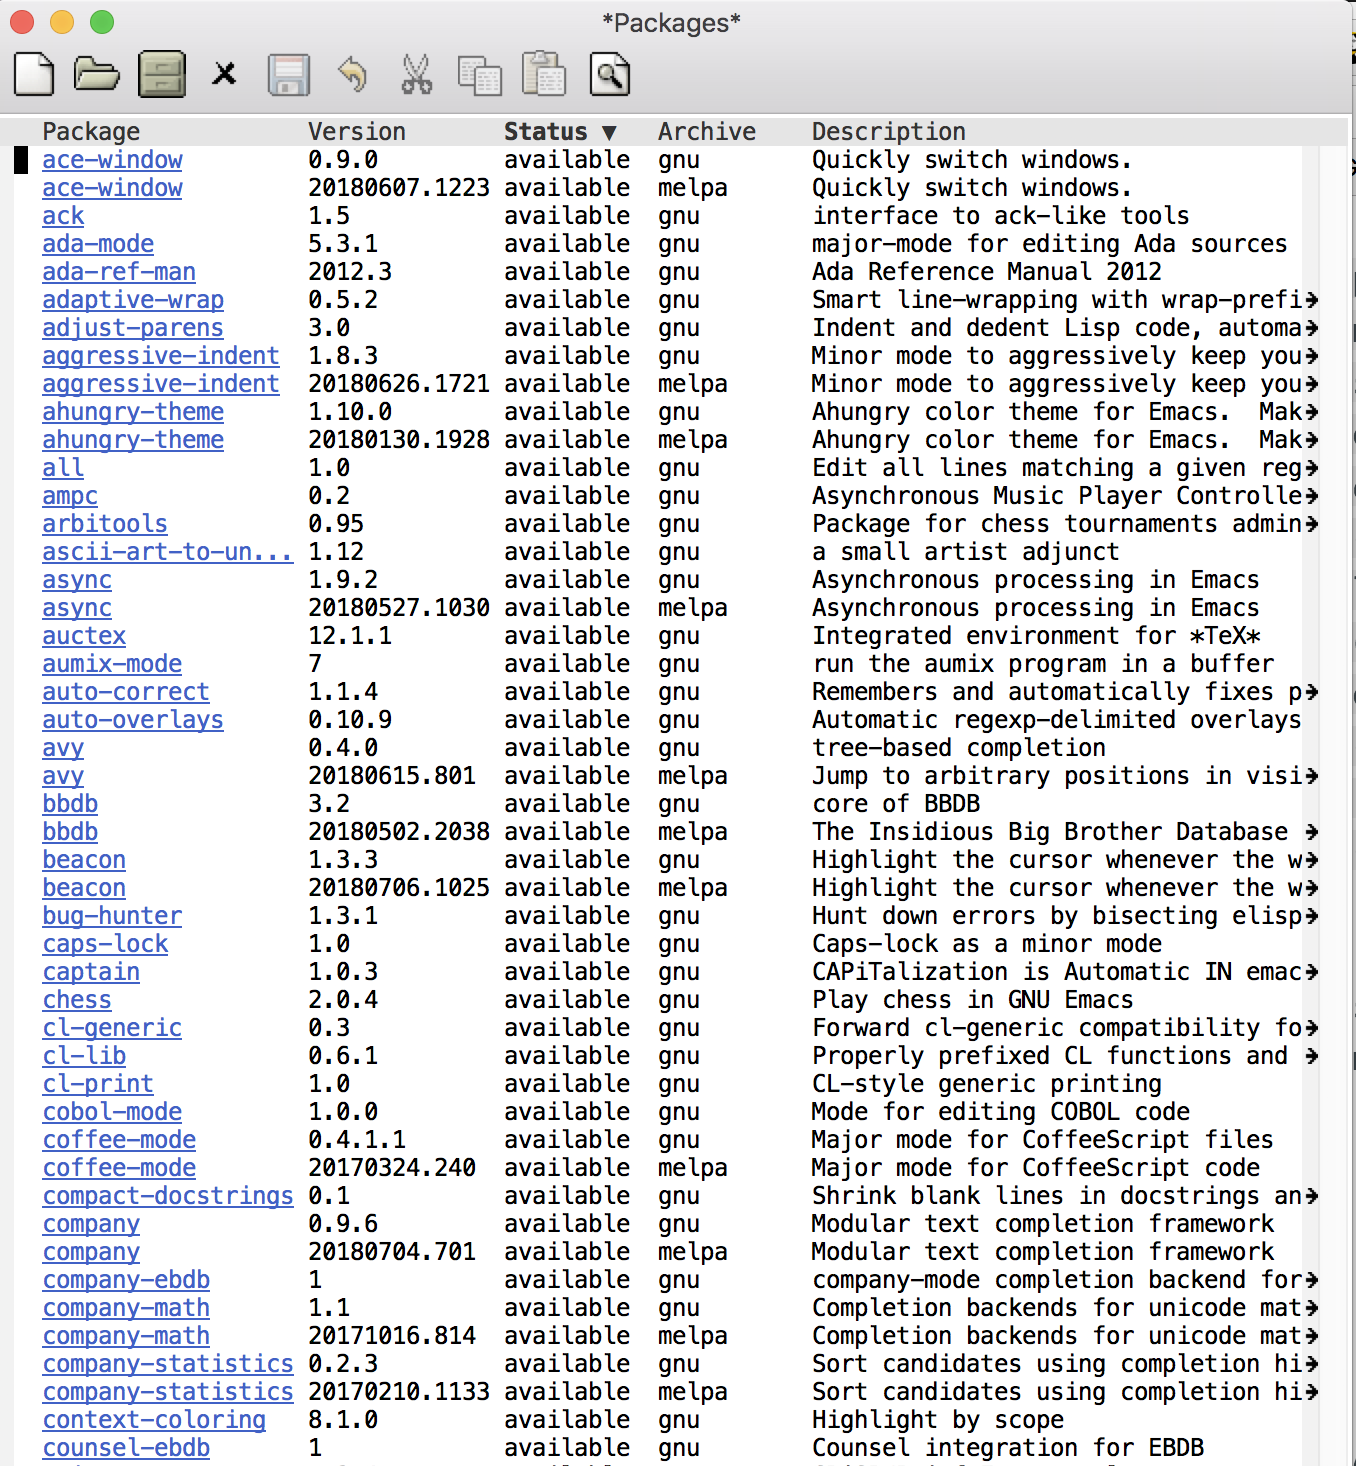
The power of emacs is of how extendable it is. To see available and installed package, enter these keys M-x list-packages. By default list-packages will show only package maintained by emacs developer.
Sometime a package is hosted elsewhere. Melpa is one well known emacs package archieve. For an example, let us try to install go-mode package which is available in melpa.
To enable melpa in emacs is described in its getting started guide. Let us add the init setup using emacs itself. Enter C-x C-f to visit file and enter ~/.emacs.d/init.el in the input prompt which means we want to edit or create that init file. That file will be read by emacs everytime it starts up. Paste the content of package initializer file as follow in the file.
(require 'package)
(let* ((no-ssl (and (memq system-type '(windows-nt ms-dos))
                    (not (gnutls-available-p))))
       (proto (if no-ssl "http" "https")))
  ;; Comment/uncomment these two lines to enable/disable MELPA and MELPA Stable as desired
  (add-to-list 'package-archives (cons "melpa" (concat proto "://melpa.org/packages/")) t)
  ;;(add-to-list 'package-archives (cons "melpa-stable" (concat proto "://stable.melpa.org/packages/")) t)
  (when (< emacs-major-version 24)
    ;; For important compatibility libraries like cl-lib
    (add-to-list 'package-archives '("gnu" . (concat proto "://elpa.gnu.org/packages/")))))
(package-initialize)
Then press C-x C-s to save and C-x C-c to quit. Start emacs again to reinit emacs with package initialiser above. Then enter M-x list-packages again. We should see some packages from melpa have already been added.
Installing go-mode
To install go-mode, we can either search the package from the list or use this command: M-x package-install, then type go-mode. To see the installation status, switch to *Messages* buffer by pressing C-x C-b and select the *Messages* buffer.
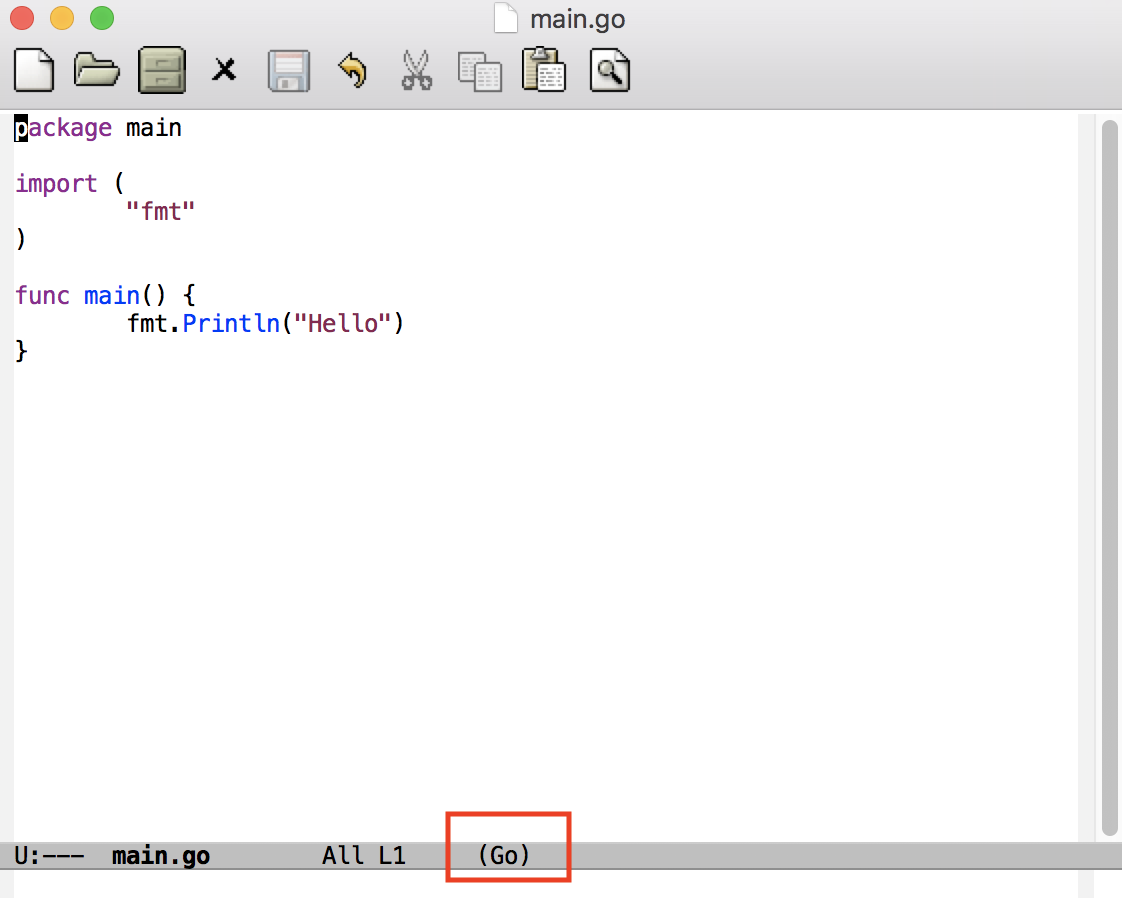
To test the mode, we will create a new file called main.go in folder under $GOPATH. I am assuming reader understand go setup and what $GOPATH means.
Since we have installed go-mode emacs will automatically switch to that mode when editing go source file that ends with .go extension.
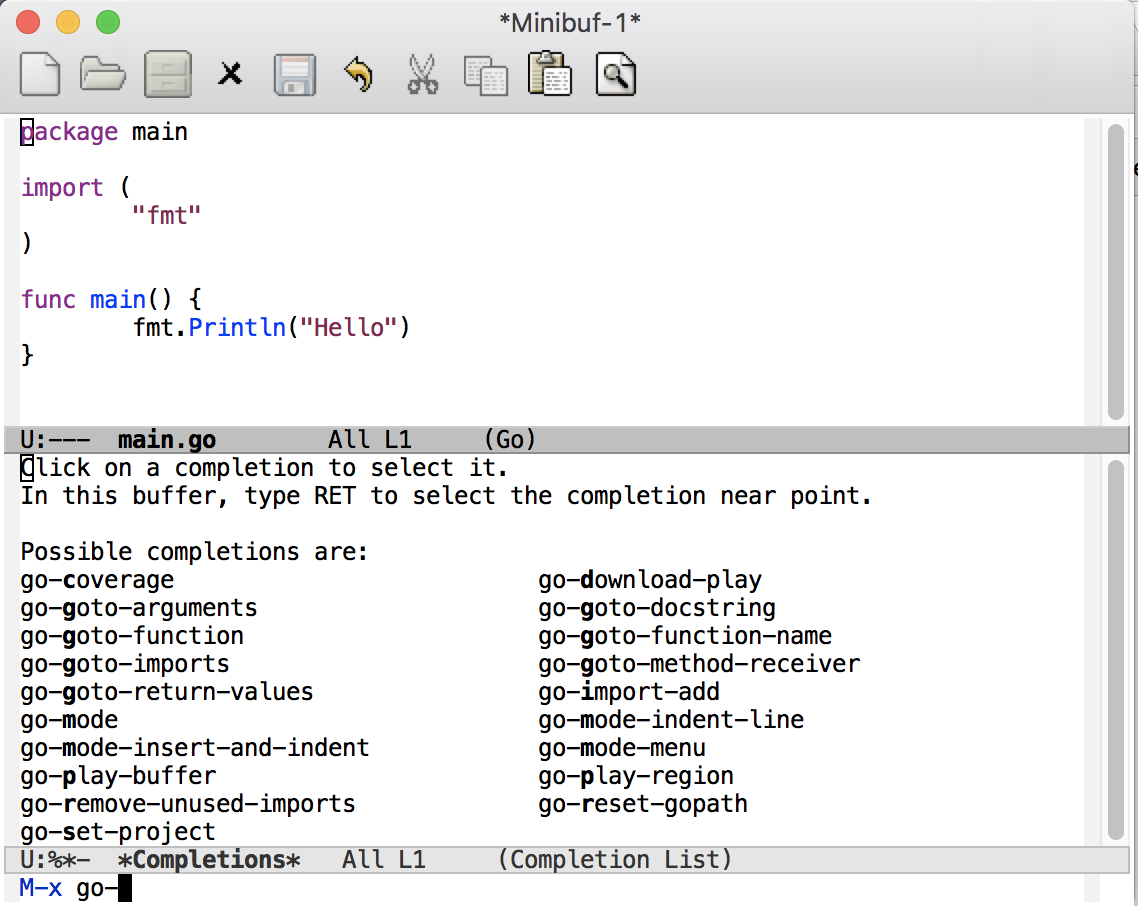
With go-mode some extended commands are also added to our emacs installation.
To run the go source file, we also can leverage shell access directly from emacs. To open shell from emacs, type M-x and type shell. From the shell we can run go run main.go the execute the above go hello world example.
I will not go to more details of how setup go development in emacs because there are already some good blog post about that.
Evaluating LISP
Emacs provides a buffer called *scratch* that can be used as scratchpad and also to evalute LISP expression. I will not discuss any LISP detail topic here. But if there is a need to quickly evaluate lisp expression, you can go to your emacs installation.
To open *scratch* buffer, type C-x C-b and select the *scratch* buffer name. A very simple lisp expression is (+ 2 4) which basically adding 2 and 4. Just write that expression in the buffer and press C-j to make the evaluation result printed in the next line. For an alternative way, select the lisp expression that you want to evaluate and press C-x C-e. For this approach the evaluation result will be printed in the echo area.